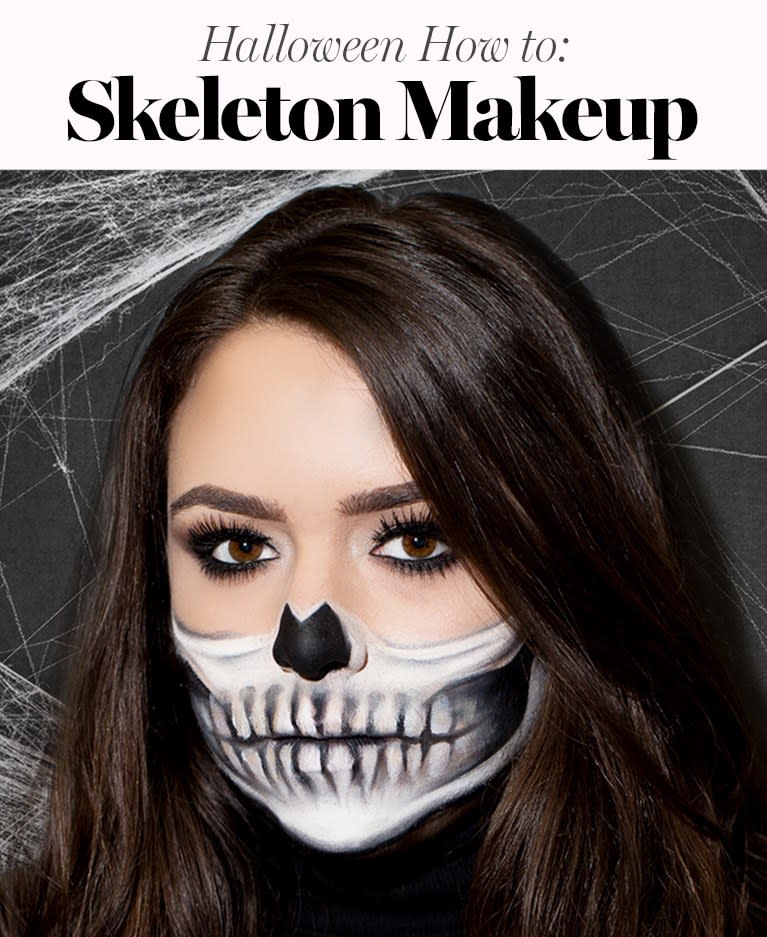
This Skeleton Halloween Makeup Tutorial Is Scary Easy to Follow


By Julianne Carell. Photos by: Emily Kemp.
If you’ve ever spent hours spiraling down a wormhole of Halloween beauty tutorials on YouTube or searched the #HalloweenMakeup hashtag on Instagram, you’ve probably seen your fair share of cool-but-impossible-to-achieve-IRL makeup looks. And skeleton makeup? That definitely fits the category. There's so much intricacy involved in getting those eye sockets to look like something out of The Walking Dead, amirite? But thankfully the makeup gods (translation: beauty bloggers) felt for skill and time-strapped among us, and the half skull trend was born. It's got all the spooky marks of classic skeleton makeup (hello, those teeth!), but let's you still wear a fierce as hell smoky eye.
We called on Make Up For Ever Director of Education and Artistry Lijha Stewart (also known as the "Queen of Halloween") to guide us through the process, step-by-step. Here's exactly how to get the look.
Level of difficulty: On a scale of 1-5, this a solid 4. Yes, even though only half your face is actually painted, nailing the shading and symmetry of that portion is pretty hard.
Amount of time required: Unless you’re an artist, plan to reserve an hour and a half to complete this look.
What you'll need: -Undereye concealer -Eyebrow gel -Black kohl eyeliner -Shimmery white eyeshadow -Matte brown eyeshadow -Black eyeshadow -False eyelashes -White face paint -Translucent finishing powder
Ready to get started? Let's go!
Since the bottom half of your face will be covered in black and white face paint, don’t bother wasting time (or precious product!) prepping that area. You’ll want to focus on making your under eyes as even-toned and bright as possible. We used a full-coverage, creamy concealer and set it with translucent finishing powder. Next, you’ll want to intensify your brows with a slightly-darker-than-normal brow gel or pencil. If going bold scares you (or if you think it just looks weird), don’t worry. Once the rest of your face is done, everything will feel balanced.
Complexion-enhancing products we love: Make Up For Ever HD Concealer{: rel=nofollow}, $27; Maybelline Facestudio Master Fix Setting+Perfecting Loose Powder{: rel=nofollow}, $8; Benefit Gimme Brow Volumizing Eyebrow Gel{: rel=nofollow}, $24
While the skeleton mask is the main focal point of this makeup look, nailing the eyes is just as crucial. An intense smoky eye and mega lashes are required to take your death-stare to the next level. With an inky-black eyeliner pencil, tightline your eyes and trace the color into the outer-V of your eyelid. Then smudge it out with a medium shading brush; doing the same on your bottom lash line, too. If you notice your liner isn’t intense enough, go back in and layer a few more coats on. The blacker, the better. This will act as your eye base.
Using a dense shadow brush, pack black shadow on top of your base to set it. Then with fluffy brush, apply warm brown eyeshadow into the crease as your transition color. This will give your eyes added intensity, so you’re going to want to bring it underneath the lash line as well. Next, apply a shimmery white or cream color in the inner-corner of your eyes as a highlight.
Now it’s time for lashes! This step is completely optional, but if you want to have fun with it, a big, feathery pair will work best. We used Make Up For Ever Lash Show Lashes in N-102, but any drugstore pair will do. Top ‘em off with mascara, and you’re done. (Pssst...Here’s a full tutorial on applying lashes if you need it.)
Smoky eye essentials: Make Up For Ever Aqua XL Waterproof Eyeliner in M-10{: rel=nofollow}, $21; E.l.f. Cosmetics Everyday Smoky Eyeshadow Palette{: rel=nofollow}, $14; Ardell Deluxe Pack Demi Lash Set{: rel=nofollow}, $7
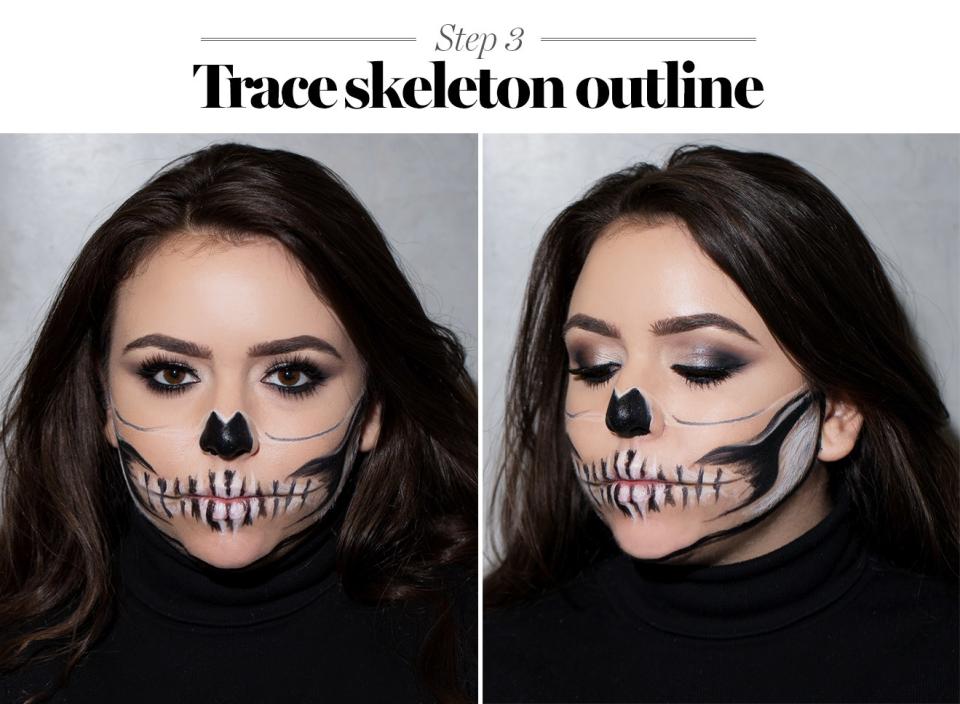
Now for the fun part: Outlining the skeleton. “For symmetry purposes, it’s best to work side by side,” says Stewart. “That way everything stays even and you don’t end up with lopsided teeth.” Using black and white kohl pencils (they’re super blendable and easy to morph into place or erase if you mess up) outline the mask, nose, cheekbones, and teeth. Then, with a skinny eyeliner brush, apply a black waterproof gel liner on top to darken and intensify. If you need to fix any part of your outline during the process, try using a damp pointed cotton swab to soften or smudge any mistakes.
Our favorite liners: Make Up For Ever Kohl Pencils in Black 6K and Matte White 2K{: rel=nofollow}, $18 each; Tarte Clay Pot Waterproof Liner in Black and White{: rel=nofollow}, $21
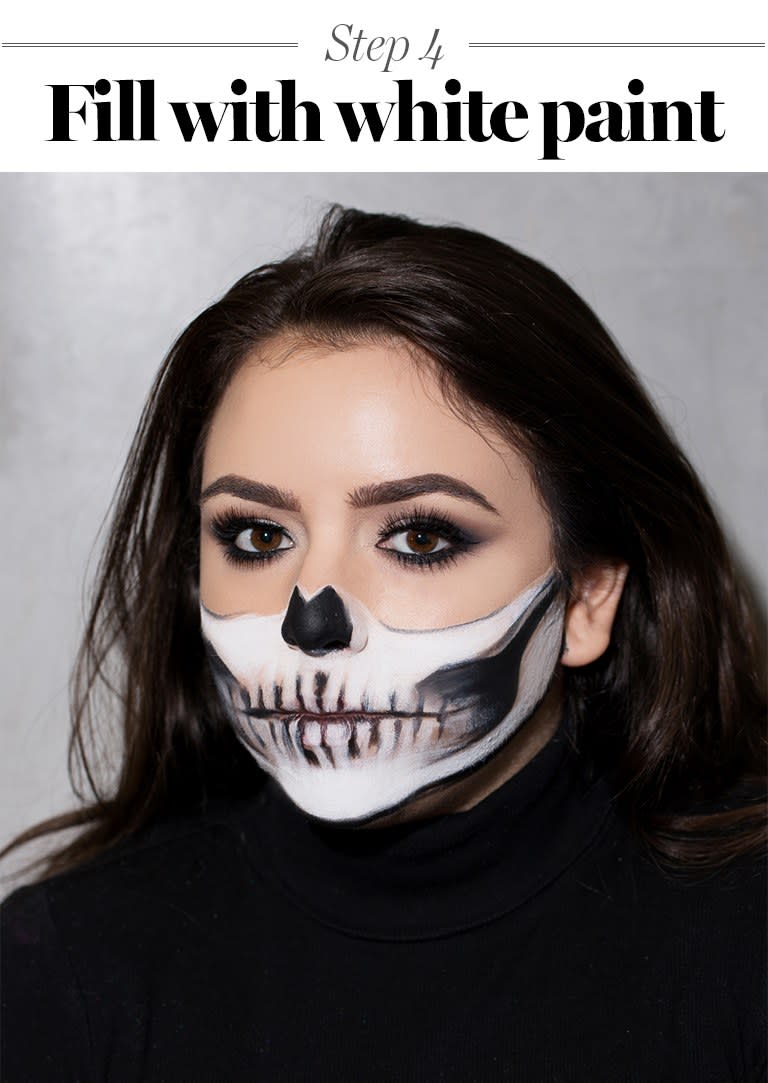
We know this seems counterintuitive. Wouldn't you want to start with white, then layer the black over it? Nope. Here's why: “When layering black over white, it turns gray,” says Stewart. “And you want the black to be as dark and pigmented as possible.” So, lest you want to look like a big gray smudge by the end of the night, use a flat, tapered eyeshadow brush{: rel=nofollow} to fill in the white parts; using gentle outward strokes, starting from the center of your face out toward your hairline. You might need to apply it in a few different layers, so be patient.
A white cream face paint we love: Make Up For Ever Wet Make-Up in White{: rel=nofollow}, price varies in-store
At this point, you might want to go in and touch up any wonky lines or creases that might appear. You’re also going to want to build out and intensify the hollows of your cheekbones and make your skeleton teeth appear more realistic by shading and blending. How to do it: Re-apply your black liner where needed, and with a dense shadow brush, buff out any harsh lines in light, sweeping motions. Take your time—this step is crucial for getting your skeleton just right. One tip for the teeth: “You can’t really mess this up,” says Stewart. “The more crooked the lines, the better.”
Our favorite blending and shading brushes: Make Up For Ever Medium Shader Eyeshadow Brush{: rel=nofollow}, $25; Sigma E45 Small Tapered Blending Brush{: rel=nofollow}, $16
To make sure all your hard works stays put all night long (imagine this melting off mid-treat? Tragic), setting is a must. Go over all the black areas with black eyeshadow, then dust translucent powder over all the white parts using a large fluffy powder brush.
Our setting recommendations: Make Up For Ever HD Microfinish Powder{: rel=nofollow}, $35, Artist Shadow in M100{: rel=nofollow}, $21, Sonia Kashuk Powder Brush{: rel=nofollow}, $12
Check Out More of Our Halloween Makeup Tutorials
This story originally appeared on Glamour.
More from Glamour:
What's That Salad the Kardashians Are Always Eating on Their Show?
Ryan Reynolds Reveals He Fell in Love With Blake Lively While on a Double Date With Someone Else
34 Times Kate Middleton and Prince William Gave Us Major Relationship Goals
13 Celebrities Who Have Hot Siblings
12 Photos of the Friends Cast Before They Were Famous That Will Make You Ridiculously Happy
A Look at the Emmy It Girls of the Past 20 Years: Taraji P. Henson, Tina Fey, and More
