
With the advent of digital cameras — and especially since the dawn of the smartphone — it’s become ever more difficult to put our past behind us. For instance, Yahoo estimated that 880 billion photos will be taken this year alone, a number no doubt inflated by all the selfies pouring out of the Philippines.
If you open up iPhoto and feel like all those pics have somehow made it onto your Mac, don’t despair. There’s a trick that can liberate your Apple computer from the stranglehold of your snapshots. Here’s how to do it:
Step 1: Get an external hard drive
In order to give your Mac some breathing room, you’ll need a new place to put all your pictures. Any drive will do, but some are better than others. For this exercise, Thunderbolt-equipped drives, like the one terabyte LaCie Rugged Thunderbolt, work well because they transfer images swiftly through the faster port.
Solid-state drives (SSDs) are also good, because they write data quickly, just like a computer’s RAM does. But on a per-gigabyte basis, these drives are very expensive compared to disc-based hard drives that offer more storage bang for the buck. (For instance, at $285, the 480-gigabyte Oyen Digital Shadow Mini SSD costs more than the LaCie but has less than half the storage space.)
Meanwhile, plain old external hard drives like the Western Digital My Book for Mac are clunky performers, but offer great values, selling two terabytes for less than a Benjamin. I recommend buying as much space as you can afford, as you’ll be filling it through the years. I would not recommend buying a wireless external storage drive — they are unstable and much slower than conventional hard drives.
Step 2: Update iPhoto
If there are updates available for iPhoto, download and install them, and then open the app. Make sure your library is working fine (or as well as can be expected, considering all the foodstagram shots you’ve got jammed in there). While iPhoto slowly grinds its gears to ensure your library is working with the newest version of the software, sit back and enjoy your memories as they zip across on the screen.
Really — you have no choice in this matter, and the app might seem like it’s frozen. But have patience and let iPhoto do its thing — and don’t force quit the program, since everything should keep moving. In fact, go for a walk, and try not to take any more photos while you’re out. When you get back, the app should be working just fine, and if so, quit the program. If not, the Apple Genius Bar is a lovely place to spend a few hours.
Step 3: Find your iPhoto Library
The iPhoto Library is what Mac OS calls a “package.” Essentially, it’s a folder you can’t (easily) open, and it has a unique icon, not a folder image. This particular package contains not just every photo you’ve loaded into iPhoto, but your albums and any projects you’ve made with the program.
Sufficed to say, for most users armed with only a smartphone, it’s a large file. People who like to capture videos will have an even larger library. And photographers with a high quality camera will have an even more bloated library because their images are much bigger files. (I fall into this category, and my iPhoto Library file is more than 50 gigabytes.) Then, throw in iCloud’s “Photo Stream,” a web-connected service that syncs your phone’s pictures with those on your computer, and this seemingly innocent Apple library is actually a data-driven parasite, eating your computer from the inside out.
You will need to extract it and store it on the external drive. So, unless you’ve already moved your iPhoto Library package, you’ll find it on your computer at Macintosh HD/Users/YourUsername/Pictures/iPhoto Library.
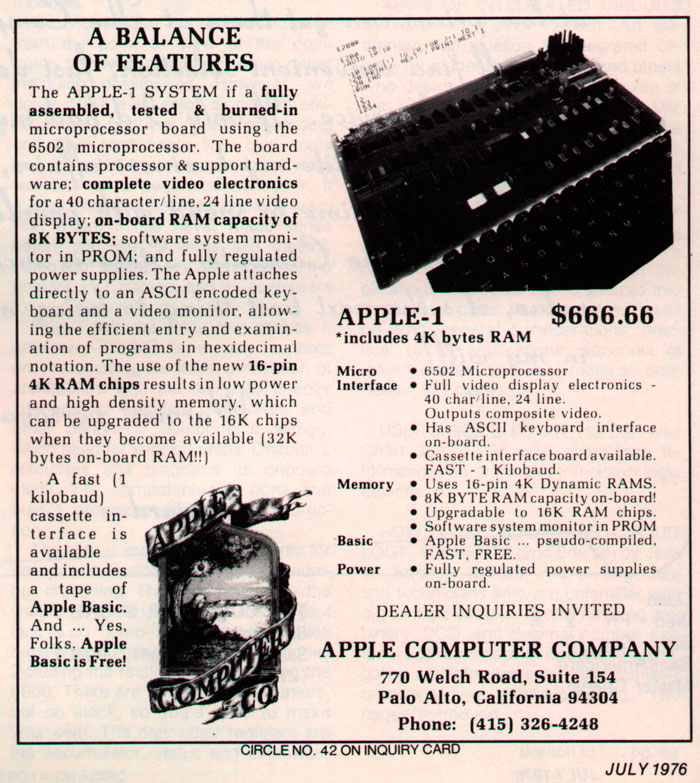
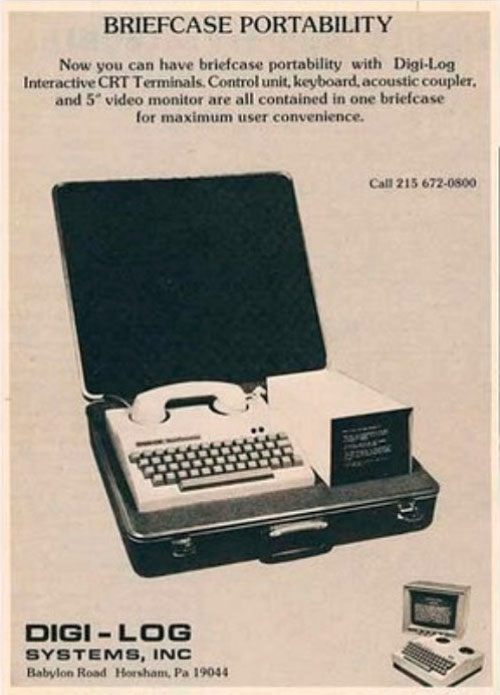
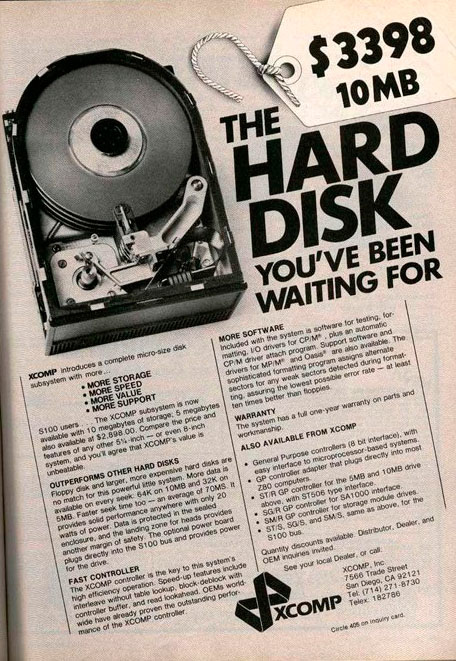
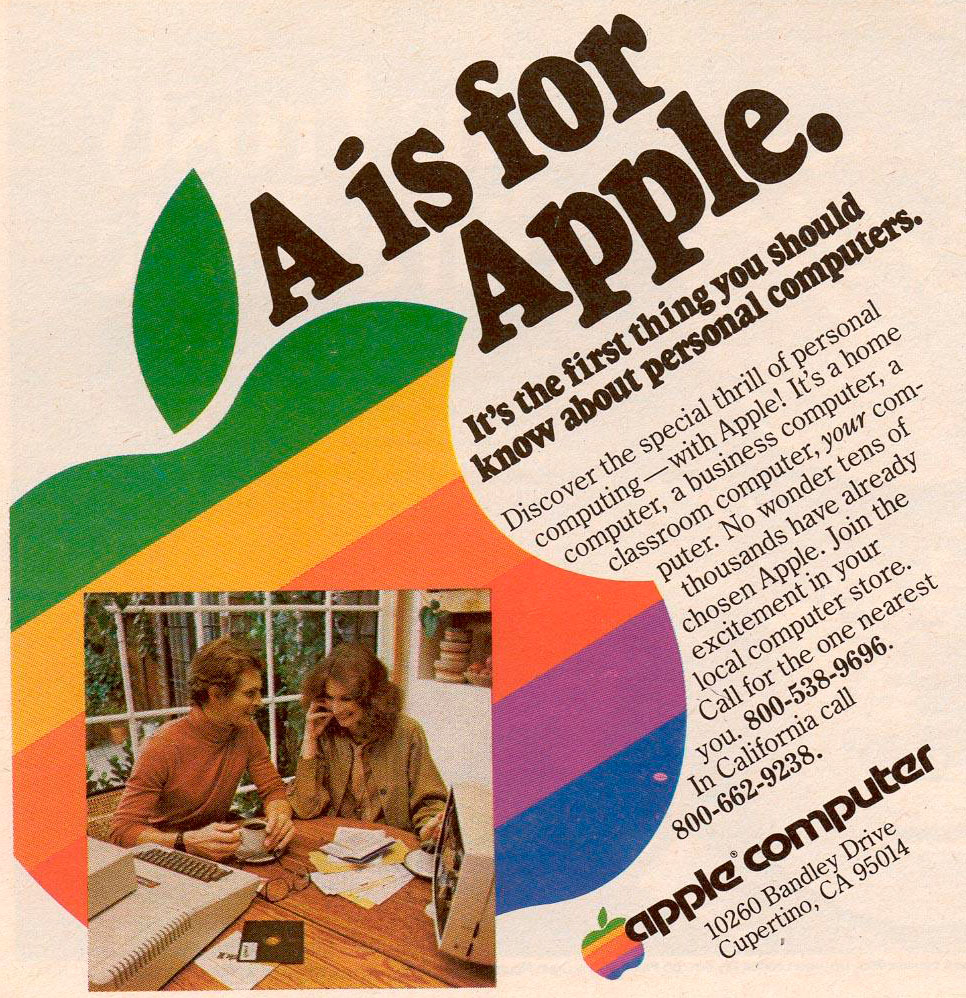
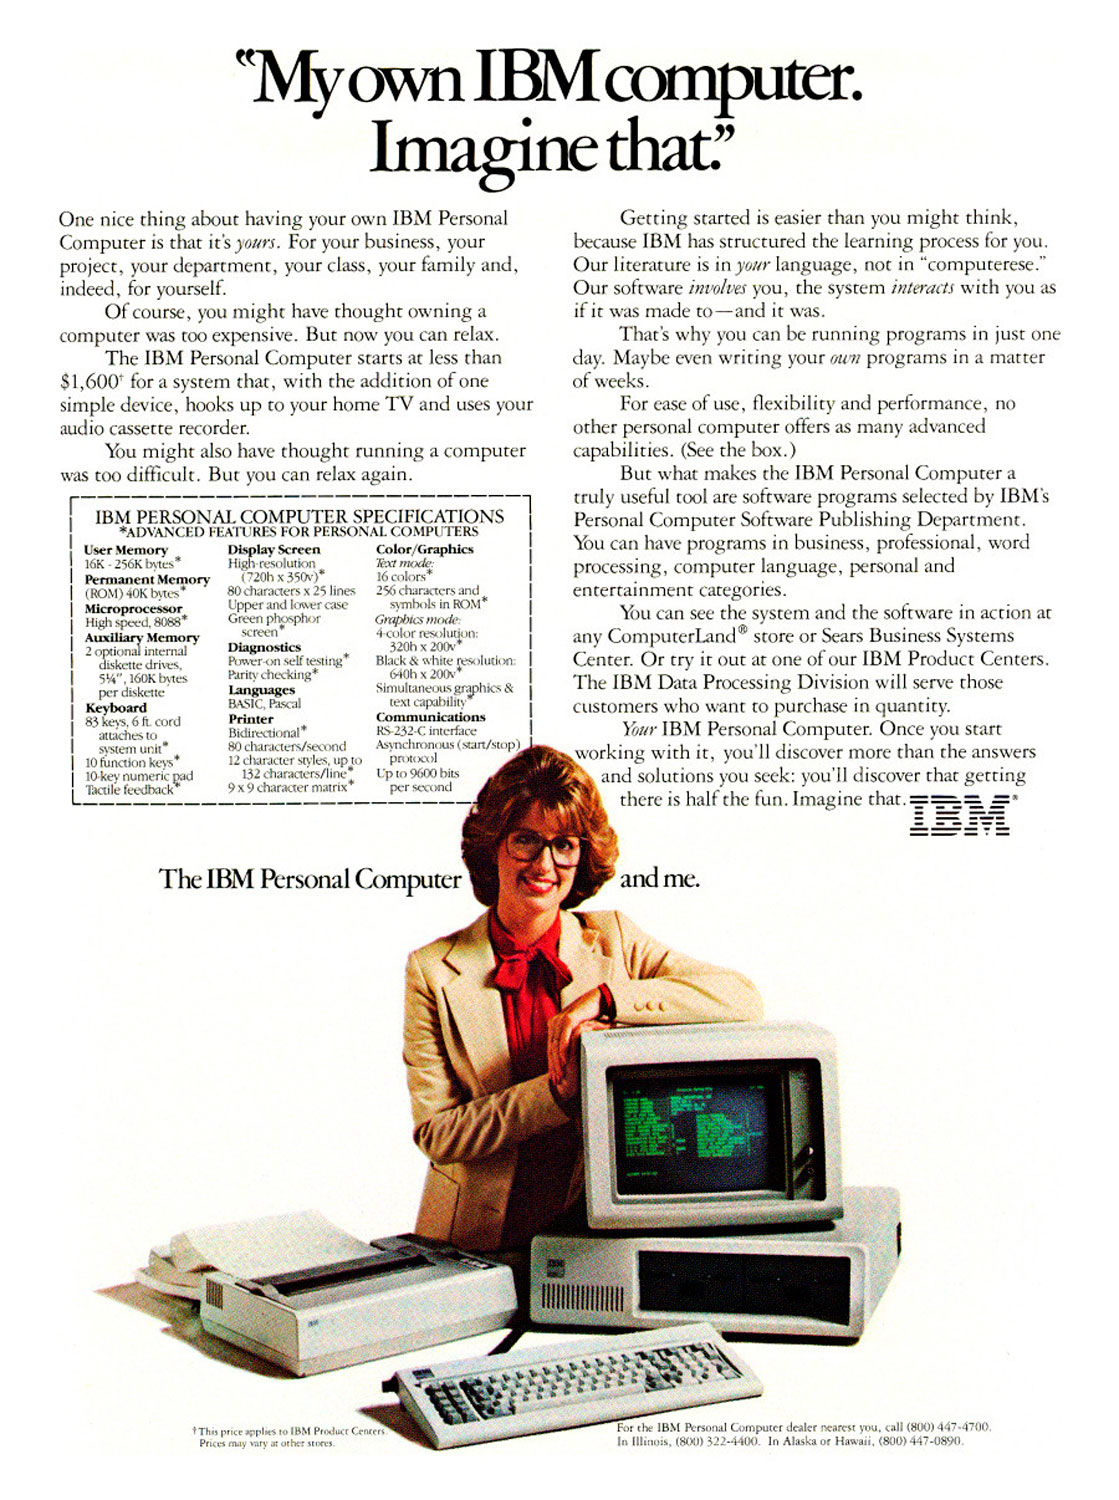
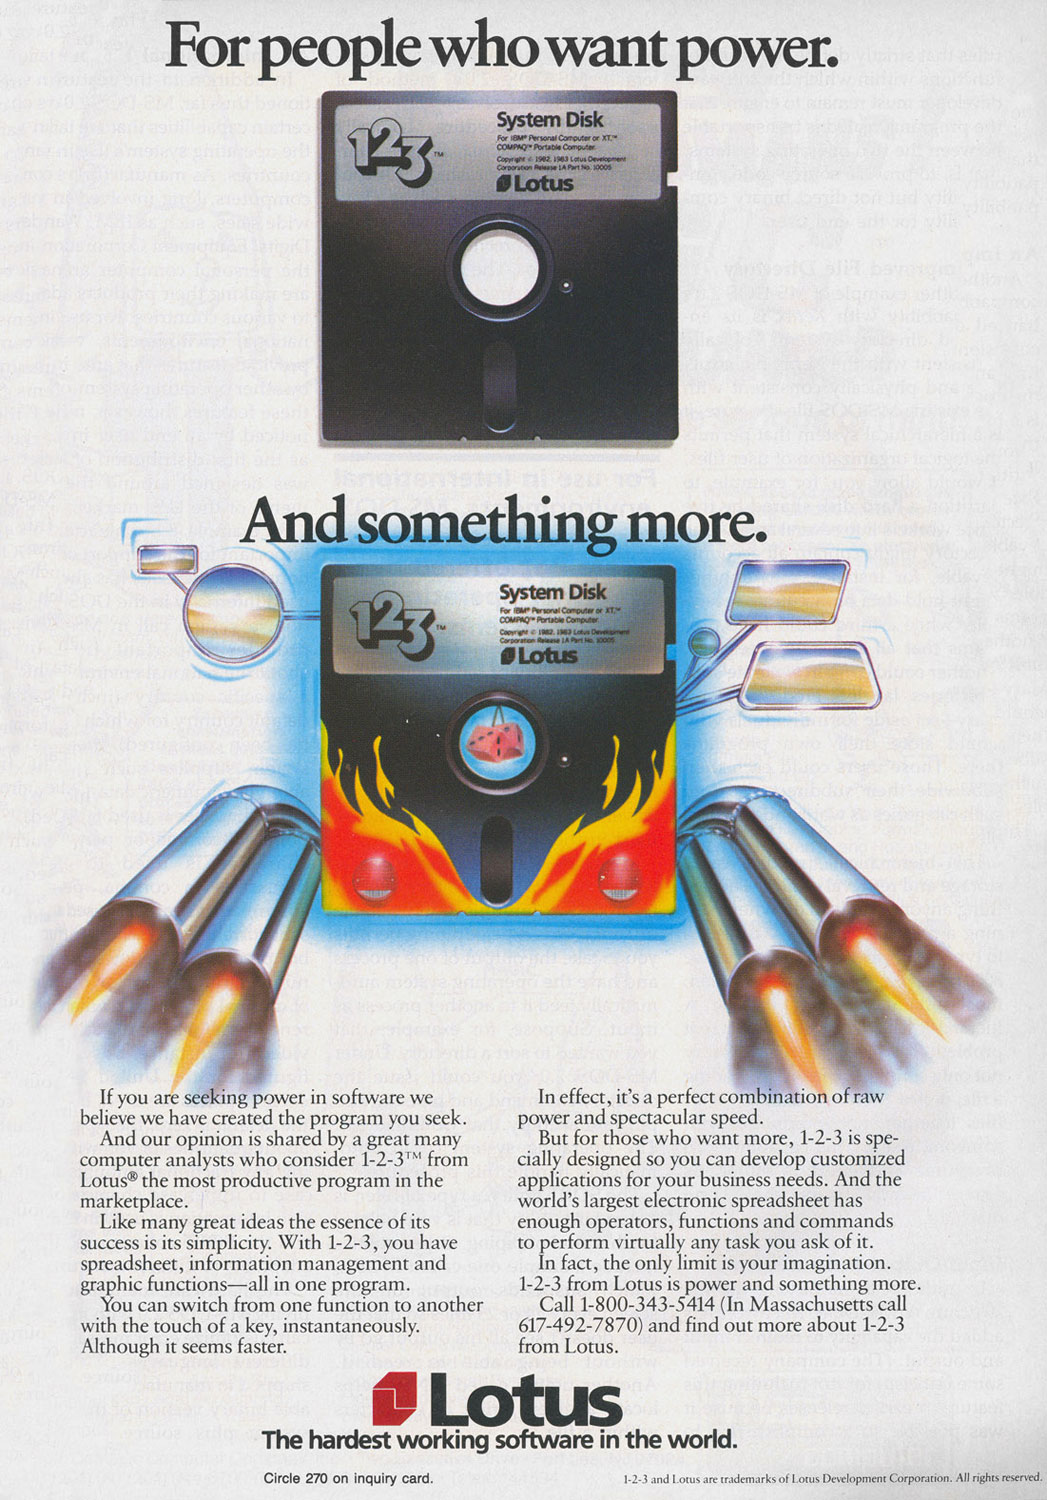
These Vintage Computer Ads Show We've Come a Long, Long Way


Step 4: Copy your iPhoto Library
Moving this library is not something that Apple recommends, but I’ve had mine located on an external drive for two years without incident. But it’s a little panic-inducing the first time you transfer it over, because this plan is essentially the equivalent of packing a moving truck full of priceless family heirlooms and hoping it makes it to your new address, somewhere out there in the dark.
So, I recommend first dragging the iPhoto Library from the Pictures folder onto the desktop. Once it’s been moved to the desktop, hold down the Option key and again drag the iPhoto Library, only this time onto your external drive. A green “plus” badge should appear on the iPhoto Library when it’s hovering over the external drive. That symbol indicates that the package is being copied to your external drive, not just being moved there. (Moving means the original file would be deleted from the desktop, and you don’t want that, yet.)
It may take more than 15 minutes to copy this library to its new home, depending on how large your library is, and what kind of external hard drive you’re using. Then, once it’s done copying, drag the desktop iPhoto Library to the trash (but don’t empty the trash, yet).
Step 5: Point iPhoto to the external iPhoto Library
Now for the magical part. Holding down the Option key, click on iPhoto to open the program. Instead of springboarding into your photos, like the program normally does, the option key launches a dialog box, asking for you to select a library. Navigate to the new library you’ve placed on your external drive. Once that’s selected, iPhoto should open and operate as it always has.
It might take a little extra time to open the first time you connect to the new library, but it’s worth noting that moving forward iPhoto will point to the external drive menu by default — unless you hold down the option key when launching the program again. Also, if you have two Macs but would like to have one library, just swap the external drive to the other computer, hold down Option when launching iPhoto, and select the drive again. Two Macs, one drive.
Step 6: Empty your trash
The last step is to empty your trash and free up your hard drive, but before you do that, you may want to grab another drive and archive the iPhoto Library again. Not only are external drives more vulnerable to corruption, but the larger, less expensive, disc-based hard drives are much more susceptible to breaking, because they have moving parts on the inside. (Think of them like vinyl records with a needle — that’s essentially how they work.)
Also, using this method of externally story your iPhoto Library may mean it no longer backs up using Apple’s Time Machine service (which you are using… right?), unless you change your settings to tell it to archive that drive, too. But whether you make a second backup or not, once you’re happy with the new library, empty the trash and say goodbye to the old one — and hello to a big pile of long, lost gigabytes.
More Must-Reads From TIME
- The 100 Most Influential People of 2024
- The Revolution of Yulia Navalnaya
- 6 Compliments That Land Every Time
- What's the Deal With the Bitcoin Halving?
- If You're Dating Right Now , You're Brave: Column
- The AI That Could Heal a Divided Internet
- Fallout Is a Brilliant Model for the Future of Video Game Adaptations
- Want Weekly Recs on What to Watch, Read, and More? Sign Up for Worth Your Time
Contact us at letters@time.com